Mississippi Pot Roast
A Fall-Apart Tender Beef Roast That Makes Its Own Gravy
Think pot roast has to be complicated? Let’s simplify it while maximizing flavor. This Mississippi Pot Roast requires 350°F heat for the initial sear – that important step that builds a flavor foundation through the Maillard reaction. After that, your slow cooker takes over at a steady 200-225°F (the “Low” setting on most cookers) for that perfect 8-hour transformation of tough chuck into fork-tender meat.
Mississippi Pot Roast
1
servings3
hours20
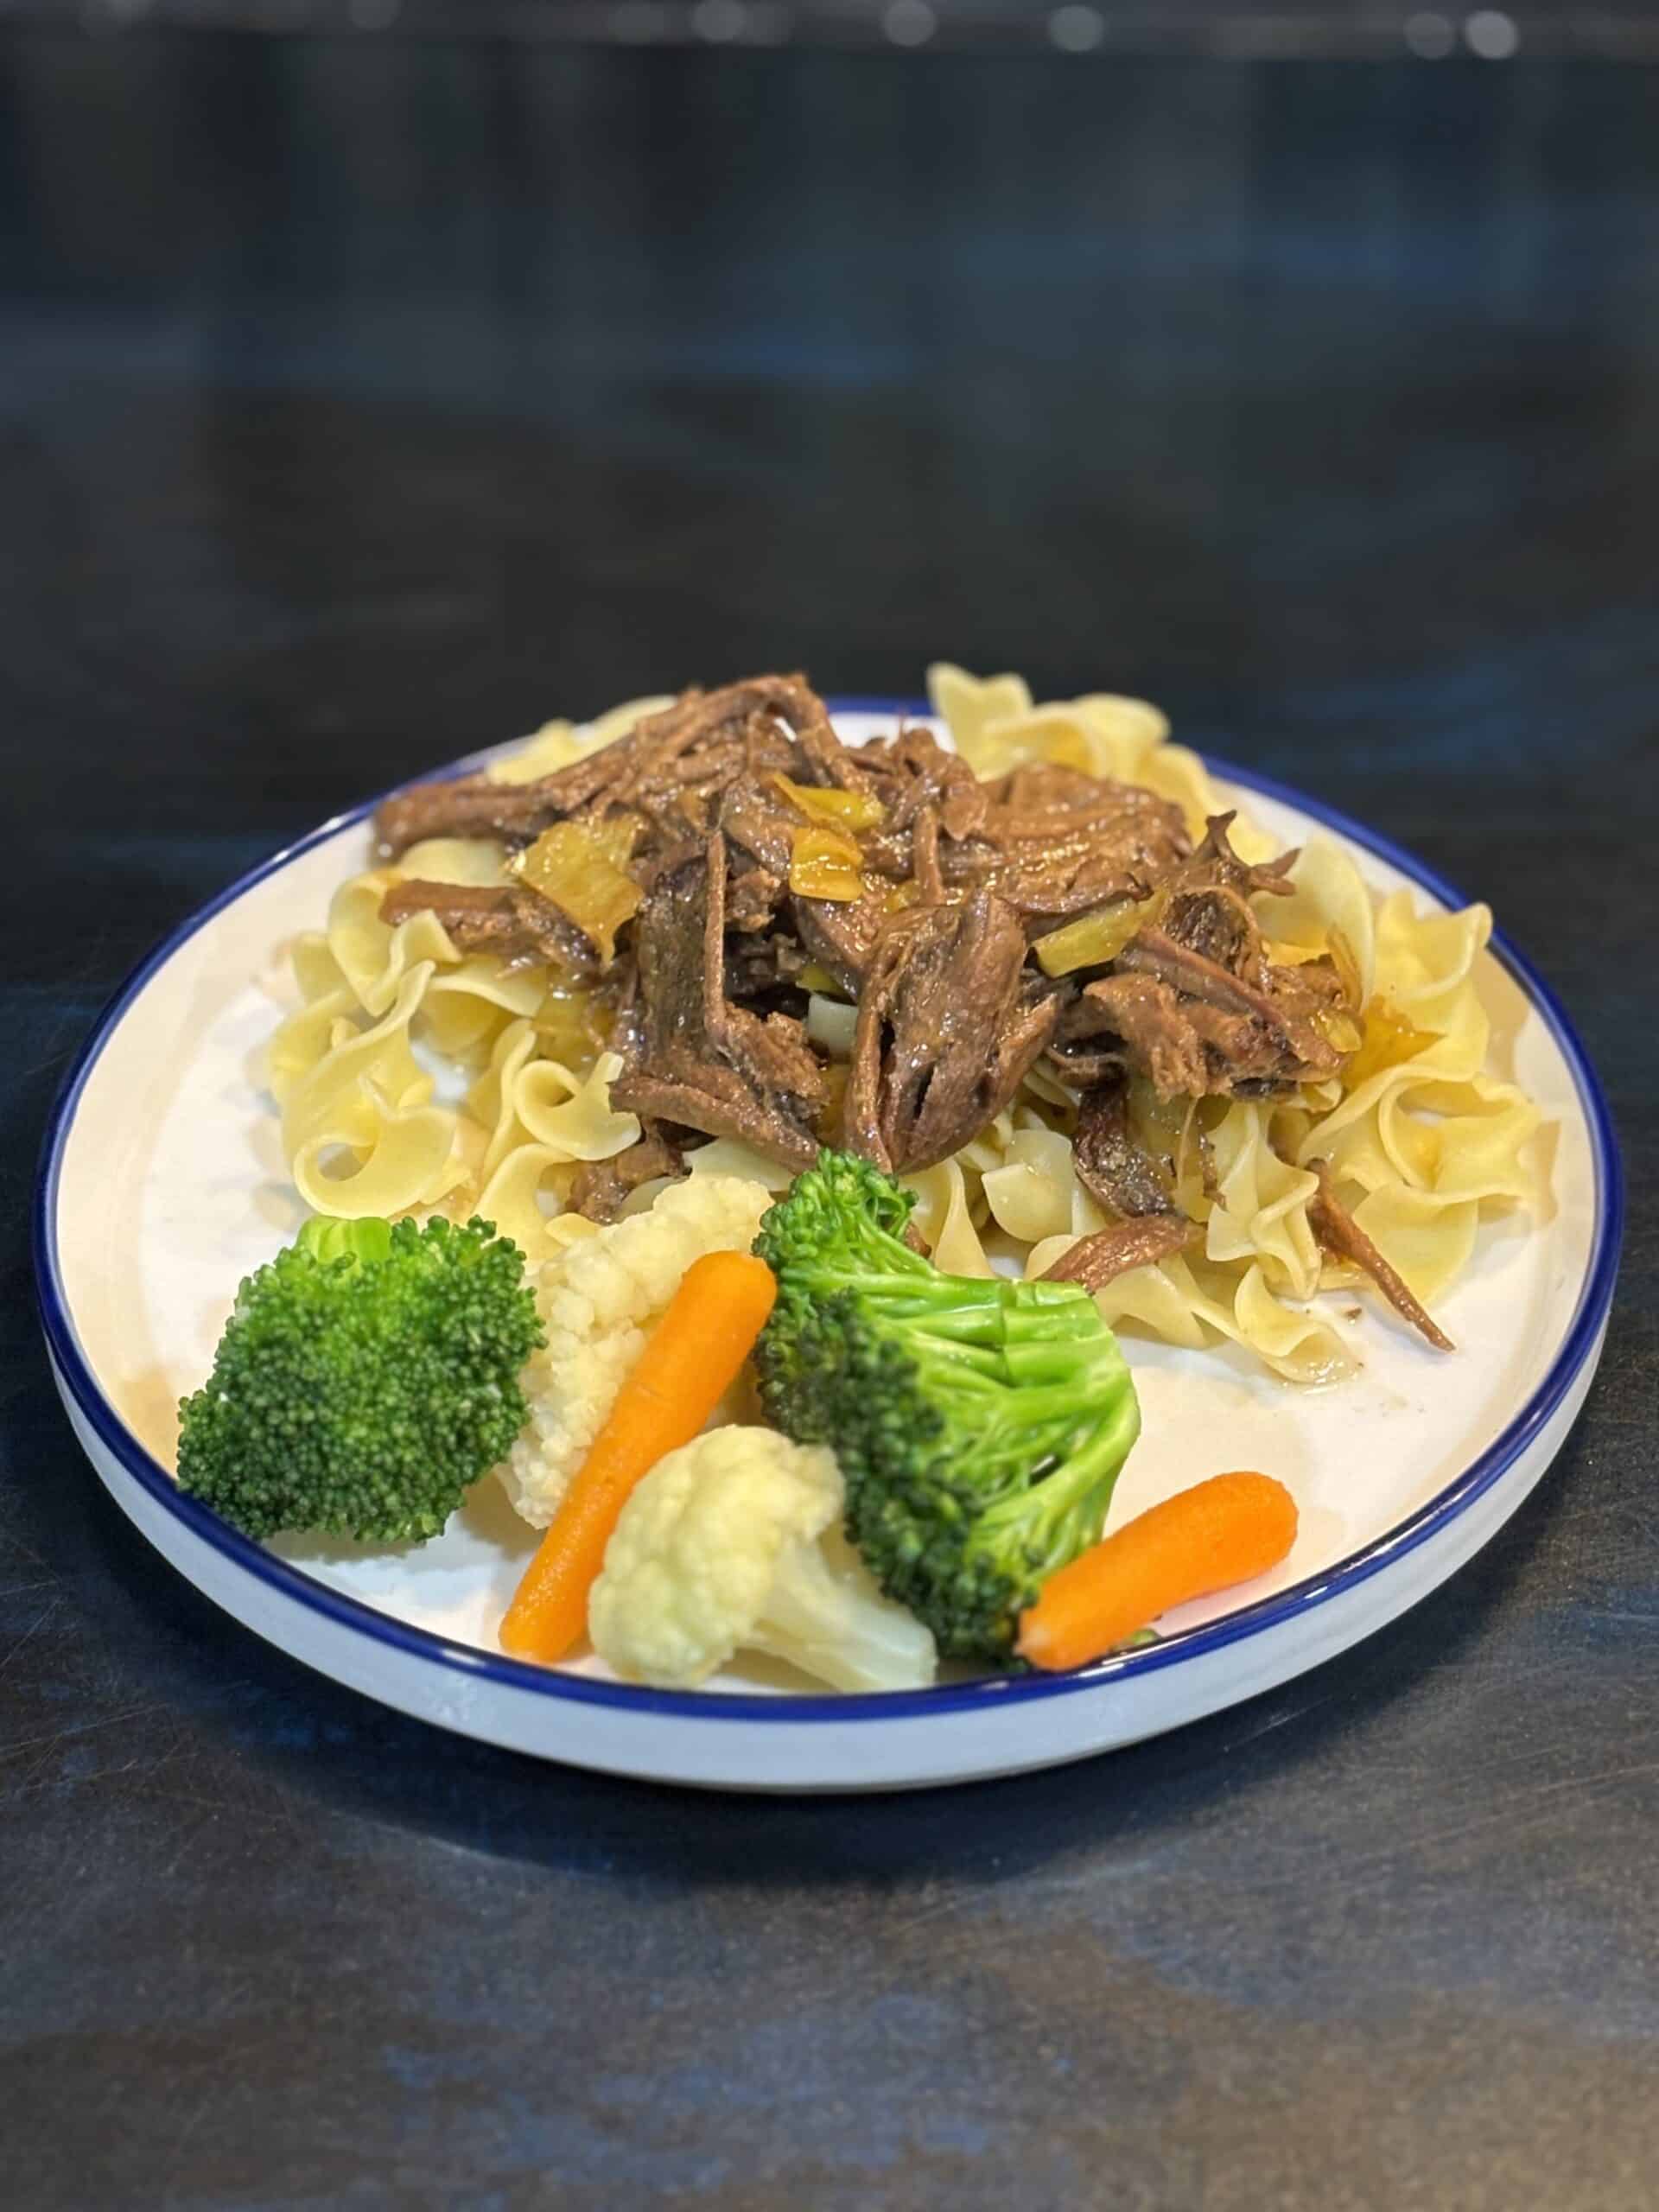
minutesThis Mississippi Pot Roast delivers fork-tender beef that’s as versatile as it is delicious – perfect for Sunday dinner, weekday sandwiches, or meal prep containers. The magic happens with a quick 350°F sear followed by a hands-off slow cook that creates its own rich, tangy gravy.
Ingredients
3-4 lbs Chuck Roast
4 Tbs Ranch dressing mix, divided
1/2 jar Mild whole pepperoncini (approx. 10), drained
1/2 jar Mild chopped pepperoncini, drained (the other half of the jar)
1/2 c Brown gravy (recipe on back, or use pre-packaged mix)
1/2 c Butter (1 stick)
3 Tbs Beef Tallow
2 c Bone broth
Directions
- Brown Chuck Roast:
· Heat 3 Tbs beef tallow in hot skillet
· Brown all sides of the chuck roast over high heat
· Cook on each side for about 2-4 minutes - Deglaze the pan:
· Add 2 cups of bone broth into hot pan to capture the flavors from the pan - Set up slow cooker:
· Add the browned meat, deglazing liquid, 3 Tbs ranch dressing mix, whole pepperoncinis, and the butter to the slow cooker. - Slow cook:
· Cook in the slow cooker on high for 8 hours - Finishing steps:
· After cooking, remove and discard peppers
· Strain liquid, and reserve for later use
· Shred and prepare beef:
· Shred beef to your liking to the proper size - Return to the slow cooker:
· Add the reserved liquid to the low cooker
· Add 1/2 c brown gravy mix and 1 Tbs ranch dressing
· Mix together seasonins to the liquid
· Add in the shredded beef
· Chop the remaining peppers and add to the slow cooker - Bring up to temperature:
· This will thicken the sauce - Serve when you are ready to eat
Nutrition Facts
- Calories: 410kcal
- Fat: 28g
- Saturated Fat: 14g
- Trans Fat: 0g
- Cholesterol: 125mg
- Sodium: 977mg
- Potassium: 720mg
- Carbohydrates: 6g
- Fiber: 1g
- Sugar: 2g
- Protein: 34g
- Vitamin A: 420IU
- Vitamin C: 8mg
- Calcium: 40mg
- Iron: 4.5mg
- Vitamin D: 0.2mg
Why This Recipe Works
The magic of this recipe lies in the combination of three key elements: a proper high-heat sear (which creates complex flavor compounds), the slow breakdown of collagen into gelatin (which happens at around 160-170°F over several hours), and the balance of tangy pepperoncinis with rich butter and savory beef. This isn’t your bland, watery pot roast – it creates its own gravy that’s packed with flavor.
Collaboration Note: This Mississippi Pot Roast recipe was developed in collaboration with our friends at Sunnyside Up Pastures beef.
Tips & Variations
Troubleshooting Tips
- Tough Meat: If your roast isn’t tender after 8 hours, your slow cooker may run cooler than average. Continue cooking for 1-2 more hours until fork-tender.
- Too Salty: The ranch and gravy mixes contain salt – if you’re sensitive to sodium, use only half the recommended amount and adjust to taste at the end.
- Watery Sauce: If your sauce is too thin, mix 1 Tbsp cornstarch with 2 Tbsp cold water, then stir into the hot liquid and cook for an additional 15 minutes with the lid off.
Substitutions
- Ranch Mix: Make your own by combining 1 Tbsp dried parsley, 1 tsp dried dill, 1 tsp onion powder, 1 tsp garlic powder, 1/2 tsp salt, and 1/4 tsp black pepper.
- Pepperoncinis: Banana peppers make a milder substitute, while pickled jalapeños (in smaller amounts) work for those who like heat.
- Butter: For a lighter version, reduce butter to 1/4 cup and add 1/4 cup beef broth.
Method Adaptations
- Instant Pot: Sear using the Sauté function, then pressure cook on High for 70 minutes with natural release.
- Dutch Oven: After searing, add all ingredients and cook covered at 325°F for 3-4 hours until fork-tender.
- Oven Bag Method: Place all ingredients in an oven-safe bag, seal, and bake at 325°F for 3-4 hours.
Dietary Modifications
- Lower Fat: Use half the butter and trim visible fat from the roast before cooking.
- Diabetic-Friendly: Substitute the gravy mix with 2 Tbsp arrowroot powder mixed with 1/4 cup cold beef broth, added during the final step.
- Lower Sodium: Use unsalted butter and low-sodium broth, then make your own ranch and gravy seasoning without added salt.
Equipment Needed
- Large cast iron skillet or heavy-bottomed pan (12-inch recommended for proper searing space)
- Slow cooker (at least 6-quart capacity)
- Tongs for handling the hot roast
- Meat thermometer
- Strainer or colander
- Two forks for shredding
- Sharp knife for trimming (if needed)
Alternative Equipment: If you don’t have a cast iron skillet, any heavy-bottomed pan that can handle high heat will work. A Dutch oven can substitute for both the searing pan and slow cooker if you prefer oven cooking (325°F for 3-4 hours).
Instructions
Step 1: Sear the Meat

- Remove the chuck roast from the refrigerator 30 minutes before cooking to take the chill off. This helps with more even searing.
- Heat 2 Tbsp beef tallow in a large skillet over high heat (about 350°F) until it’s shimmering but not smoking.
- Place the chuck roast in the hot pan and sear for 2-4 minutes on each side until you’ve developed a deep, rich brown crust. Don’t move the meat until it’s ready to flip – it should release easily when properly seared.
- Look for a deep mahogany color on all sides – this isn’t just for looks; those browned bits contain hundreds of flavor compounds that will enrich your final dish.
Step 2: Deglaze and Capture Flavor

- After searing, remove the roast temporarily and place it on a plate.
- While the pan is still hot, pour 2 cups of bone broth into the skillet.
- Using a wooden spoon, scrape the bottom of the pan to release all those flavorful browned bits (known as “fond”) into the liquid.
- Bring to a simmer for 30 seconds to ensure all flavor is captured in the liquid.
Step 3: Slow Cooker Setup
- Place the seared chuck roast in your slow cooker.
- Pour the deglazing liquid (bone broth with pan drippings) over the meat.
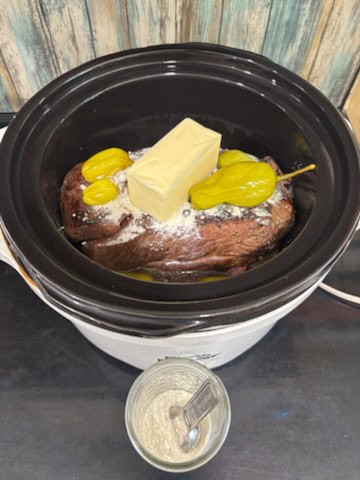
- Sprinkle 3 Tbsp of ranch dressing mix evenly over the roast.
- Arrange the whole pepperoncinis around the roast (not on top).
- Place the butter pieces evenly spaced over the top of the roast.
Step 4: Low and Slow Cooking
- Cover the slow cooker and set to Low for 8 hours.
- Resist the urge to open the lid during cooking – each peek can add 20-30 minutes to cooking time as heat escapes.
- The roast is done when it easily shreds with a fork and has reached an internal temperature of at least 195°F – this is well above food safety requirements but ensures the collagen has fully broken down.
Step 5: Finishing the Dish
- Remove and discard the whole pepperoncinis.
- Carefully transfer the roast to a cutting board.
- Strain the cooking liquid through a fine-mesh strainer into a bowl, and reserve.
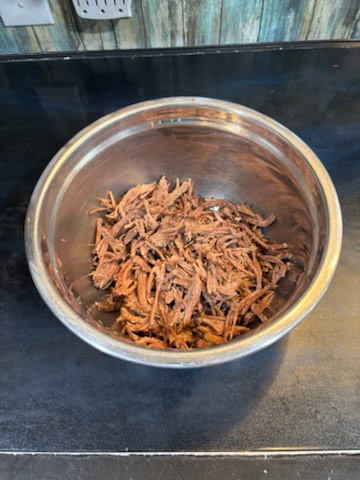
- Shred the beef using two forks, pulling against the grain. You can keep the pieces larger for a more rustic presentation or finely shred for sandwiches.
Step 6: Creating the Final Sauce

- Return the shredded beef to the slow cooker.
- Add the reserved cooking liquid back to the slow cooker.
- Stir in the 1/2 cup brown gravy mix and remaining 1 Tbsp ranch dressing mix.
- Add the chopped pepperoncinis and mix thoroughly.
- Cover and heat on Low for an additional 30 minutes to allow the sauce to thicken and flavors to meld.
- The finished sauce should coat the back of a spoon – if it’s too thin, leave the lid off for the last 15 minutes to reduce slightly.
Storage & Serving
Storage Instructions
- Refrigerator: Store in an airtight container for up to 4 days. The flavors actually improve after a day as they continue to meld.
- Freezer: Portion into freezer-safe containers with some sauce in each portion. Freeze for up to 3 months.
Reheating Guidelines
- Microwave: Heat individual portions for 2 minutes at 70% power, stir, and heat in additional 30-second intervals until reaching 165°F.
- Stovetop: Place in a skillet with 2 Tbsp water or broth per cup of beef, cover, and heat on medium-low until reaching 165°F (about 5-7 minutes).
- Slow Cooker: For larger portions, reheat on Low for 1-2 hours until reaching 165°F.
Make-Ahead Options
- Complete the entire recipe up to 2 days ahead and refrigerate. Reheat in a slow cooker on Low for 1-2 hours before serving.
- Alternatively, prepare through the searing step, then refrigerate the seared meat and deglazing liquid separately. Continue with the slow cooking the next day.
Serving Suggestions
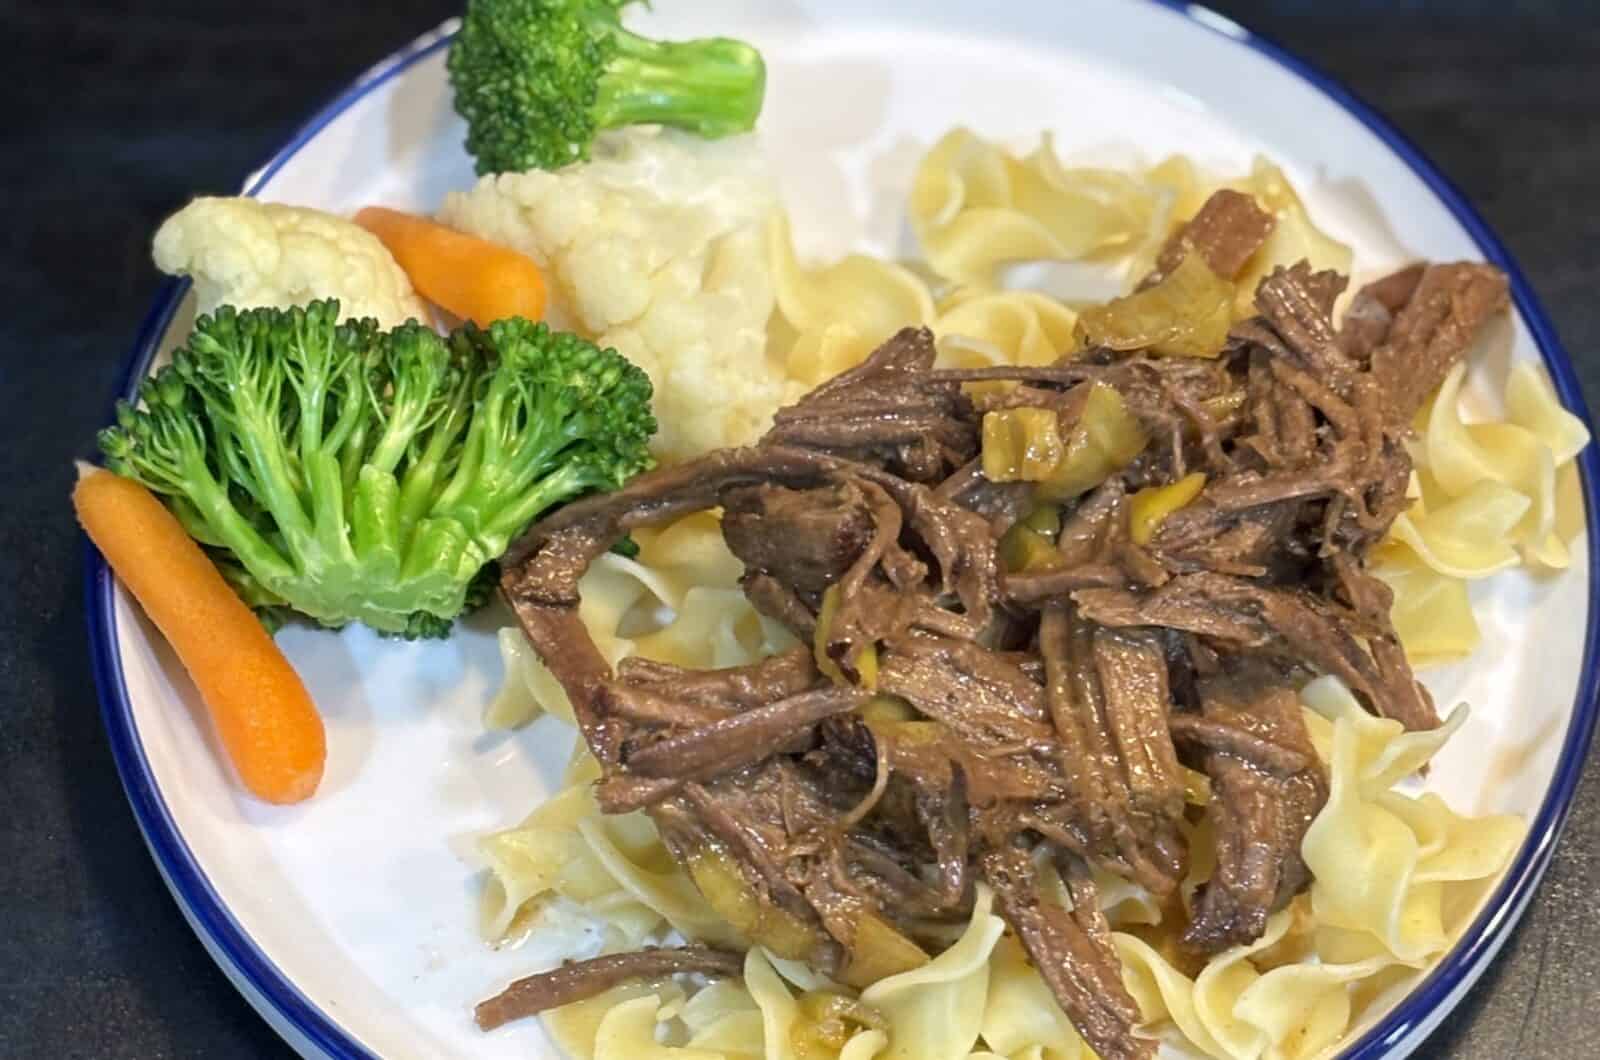
- Classic Comfort: Serve over mashed potatoes or buttered egg noodles.
- Low-Carb Option: Pair with cauliflower mash or roasted vegetables.
- Sandwiches: Pile onto toasted brioche buns with provolone cheese for Mississippi Pot Roast sandwiches.
- Meal Prep: Portion with roasted vegetables for complete make-ahead lunches.
Presentation Ideas
- Serve family-style in a wide, shallow dish with the sauce spooned over the shredded beef.
- Garnish with fresh chopped parsley for color contrast.
- For a more elegant presentation, serve over a puree of root vegetables with a sprig of thyme.


